- DIY misAdventures
- Posts
- Transform Your Floors with Epoxy Coating: A Step-by-Step Guide
Transform Your Floors with Epoxy Coating: A Step-by-Step Guide
Transform Your Space: Step-by-Step Techniques for Stunning Epoxy Floors!
Applying Epoxy on Floor: A Comprehensive Guide
Looking to apply epoxy on floor surfaces? This guide covers each step—from preparing the concrete to applying the top coat—to help you achieve a perfect finish.
Key Takeaways
Proper surface preparation and moisture testing are crucial for a successful epoxy floor application.
Choosing the right epoxy kit and following precise mixing ratios ensures durability and aesthetic appeal.
Applying a top coat and maintaining the cured floor will enhance longevity and performance.
Preparing the Concrete Floor

Before:
The initial step in applying an epoxy floor coating is preparing the concrete floor. Proper surface preparation ensures that the epoxy adheres well and remains intact for years. Begin by cleaning the surface to eliminate any debris, grease, or stains that could hinder adhesion. Address common issues like cracks, stains, and pits before proceeding.
Prepare the concrete floors.
Ensure proper surface preparation for good adhesion.
Clean the surface to eliminate debris, grease, or stains.
Address common issues like cracks, stains, and pits before proceeding with concrete floor paint.
Using tools like a diamond cup wheel on a grinder helps achieve the proper surface profile, ideally CSP2 or better. This ensures the epoxy coating bonds well with the surface. Repair any existing damage to the concrete to prevent future coating failures. This step is crucial for a smooth and durable finished floor.
Consider using an epoxy primer to seal the surface and fill micro cracks, enhancing adhesion. This primer serves as a base layer, providing a solid foundation for the subsequent epoxy layers. With the concrete floor meticulously prepared, move on to moisture testing and sealing.
Moisture Testing and Sealing
Moisture is a significant threat to epoxy coatings. Excess moisture in the concrete can cause the epoxy to peel or bubble. Conducting a moisture test is crucial to avoid this. The calcium chloride test is highly recommended for its precision, while the plastic square method involves taping a plastic sheet to the floor and checking for moisture after several days.
If the moisture level exceeds 1,5 kilograms per 100 square meters (three pounds per 1,000 square feet), delay the application and seal the concrete to prevent future issues. Applying a moisture barrier or sealant ensures the epoxy adheres properly and lasts without peeling.
Once the concrete is dry and sealed, proceed to choose the right epoxy kit for your project.
Choosing the Right Epoxy Kit

Choosing the right epoxy kit is key for a durable and visually appealing floor. High solids and 100% solids epoxy coatings are ideal for garage floors due to their durability and performance. Polyurea is another popular choice, known for its stain resistance and adhesion.
Consider reputable manufacturers to ensure quality and reliability when selecting an epoxy kit. Proper surface preparation is essential regardless of the kit chosen. Many epoxy coatings allow for customization in color and finish, aligning the floor with your design goals.
For DIY enthusiasts, water-based epoxy options like AWF are available and easier to work with than traditional garage floor paint. Polyurea kits, though slightly more expensive, offer superior performance and may be a better option for residential garages in good condition.
With the right kit in hand, proceed to mix the epoxy resin.
Mixing the Epoxy Resin
Mixing the epoxy resin correctly is vital for a successful epoxy floor. The resin to hardener ratio must be precise to avoid issues like soft surfaces or premature hardening. Always follow the manufacturer’s instructions carefully to ensure proper application and safety.
Measure the resin and hardener by weight, as it is more accurate than by volume due to their different densities. Mix the components for 3-4 minutes using a paddle mixer at the lowest speed to prevent excessive air incorporation. Let the epoxy sit for 1-2 minutes to allow air bubbles to rise before use.
Ensure proper ventilation during this process to reduce harmful fumes and speed up curing. Properly mixed epoxy should be free of bubbles and have a consistent color and texture. With your mixed epoxy ready, proceed to apply the epoxy primer.
Applying the Epoxy Primer
Applying an epoxy primer ensures the adhesion of the epoxy coating. It acts as a bonding agent between the concrete and the epoxy, sealing the substrate and filling micro cracks. This step is essential for a durable finish.
Before applying the primer, ensure the surface is thoroughly cleaned and prepared. Grinding and shot blasting are effective methods for this. Mix the primer for 2-4 minutes to ensure proper consistency and apply it evenly over the surface.
The primer typically cures in 16-24 hours. Maintain temperatures above 18°C (65 degrees Fahrenheit) during the initial curing phase for optimal results. With the primer in place, proceed to pour and spread the epoxy.
Pouring and Spreading Epoxy

Pouring and spreading the epoxy brings your floor to life. Start by applying a thin layer of mixed epoxy using a squeegee to spread it evenly. Follow up with a back roller to promote even coverage and minimize air bubbles, using a ‘W’ pattern for the best results.
Ensuring an even application across the entire surface is essential for the aesthetic quality of the flooring and to prevent inconsistencies. Pay attention to the edges and corners, finishing them with a brush for a professional look.
With the epoxy layer in place, add color and effects to make your floor unique.
Adding Color and Effects
Adding color and effects to your epoxy floor enhances its visual appeal. Various colorants are available, including pigment powders for opaque colors and liquid dyes for transparent finishes. Mica powders can add a shimmery or metallic effect, creating a stunning look.
For more creative designs, layer different colored resins or swirl multiple colors to produce a marbled effect. These techniques allow you to customize your epoxy floor to match your style and preferences.
Once satisfied with the design, apply the top coat.
Applying the Top Coat
The top coat is the final layer that ensures your epoxy floor is durable and safe. Adding slip-resistant additives can enhance safety, especially in environments where accidents are a concern. For a textured, non-slip surface, mix 30-50 grams (1-2 ounces) of non-skid additive per gallon of Polyaspartic topcoat for light coverage.
Apply the top coat evenly using a paint tray and chip brushes for detailed areas. This layer provides a glossy finish and additional protection against wear and tear. Do not exceed 6 ounces of non-skid additive per gallon to avoid a rough surface.
With the top coat applied, your epoxy floor is nearly ready for use.
Curing Time and Maintenance
Curing time is crucial for the durability of your epoxy floor. Typically, a 100% solids epoxy floor can be walked on after 12 to 18 hours, but full chemical curing usually takes about a week. High temperatures and low humidity can speed up the curing process, while maintaining a heated environment is advisable.
Once fully cured, maintaining your epoxy floor is straightforward. Regular cleaning will keep it looking new, and with proper care, epoxy flooring can last over a decade, making it a cost-effective and durable solution.
Next, let’s explore some common mistakes to avoid during the application process.
Common Mistakes to Avoid
One common mistake when applying epoxy floors is not paying attention to the short pot life of epoxy. Once mixed, you have limited time to apply it before it begins to harden, which can lead to uneven application or abandoning the project. To avoid this, mix only small batches of epoxy at a time and plan the application process carefully.
Another frequent error is not addressing air bubbles properly. Proper mixing and techniques like back rolling can help minimize air bubbles, leading to a smoother finish. Avoiding these common pitfalls will help you achieve a professional-looking epoxy floor.
Next, let’s examine the benefits of epoxy coatings.
Benefits of Epoxy Coatings

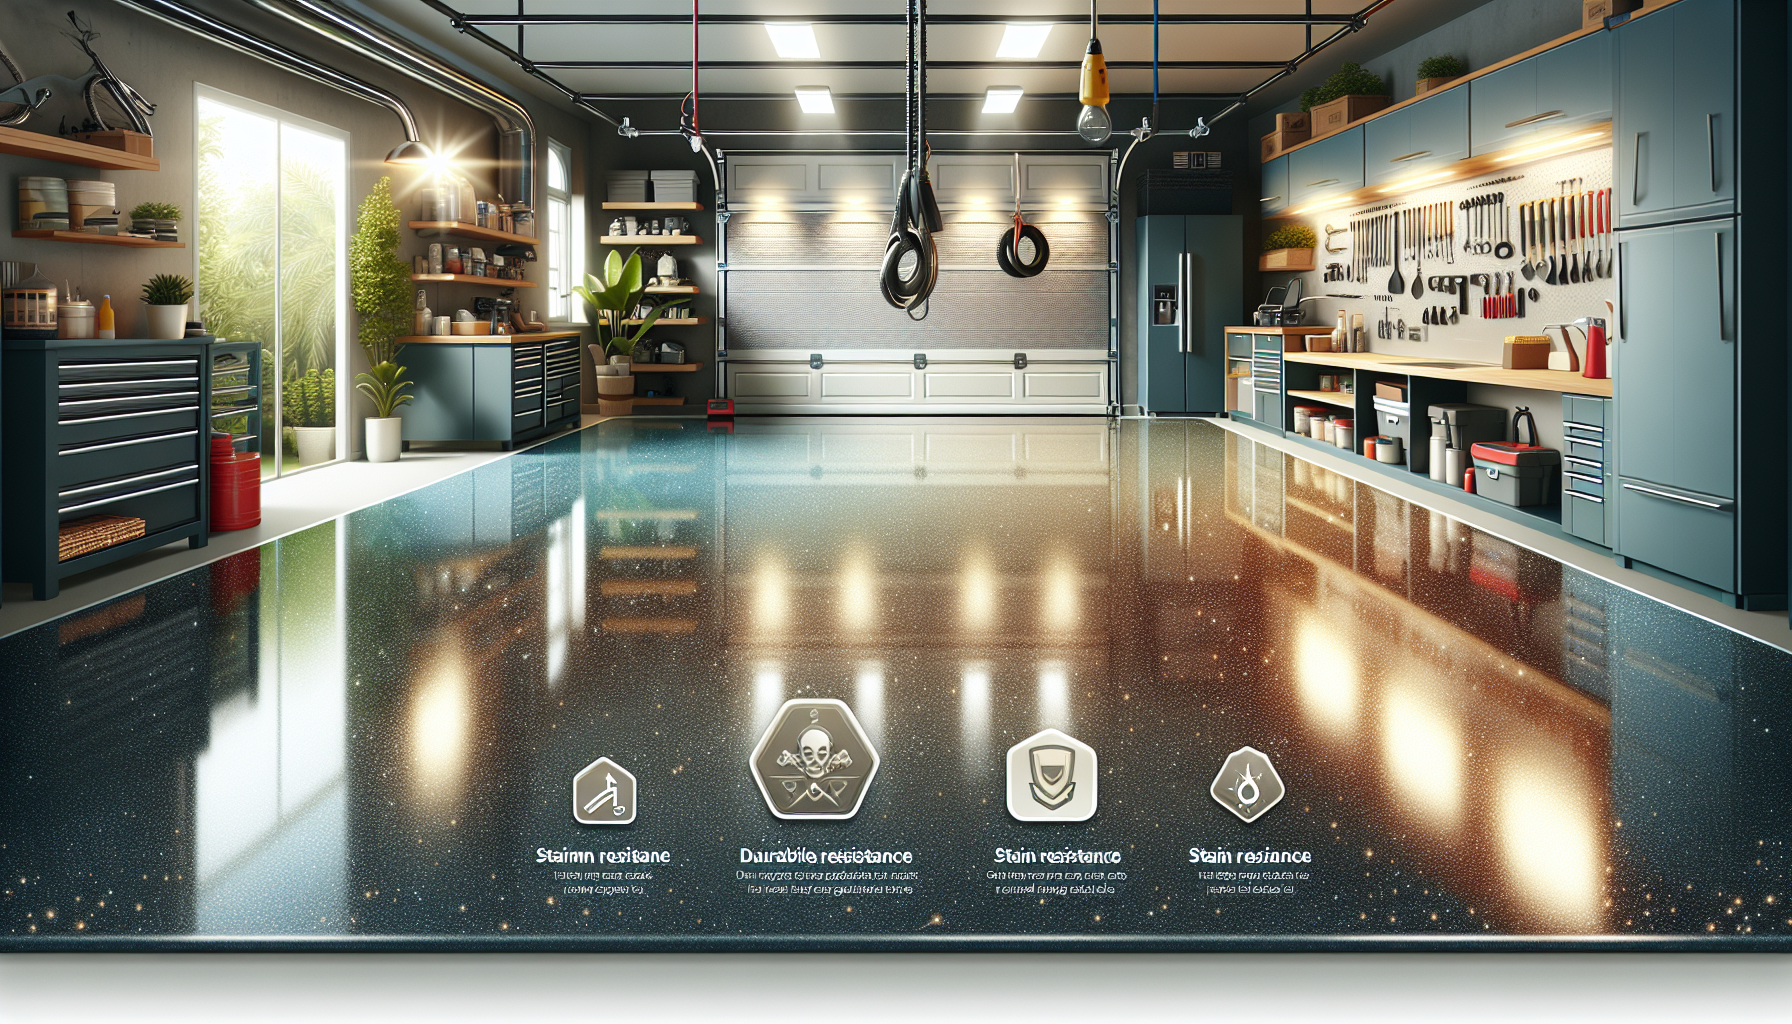
Epoxy flooring systems offer numerous benefits, making them a popular choice for various applications. These coatings are known for their exceptional durability, ideal for high-traffic environments like warehouses and garages. They also provide excellent resistance to a wide range of chemicals, essential for areas prone to spills, especially when using an epoxy system.
In addition to their functional benefits, epoxy floors offer extensive aesthetic options. You can choose from a wide range of colors and finishes to match your style. Incorporating a non-skid additive enhances safety, making epoxy floors suitable for various industries and environments.
With these benefits, it’s clear why epoxy coatings are a popular choice. But how do they compare with other floor coatings?
Comparing Epoxy with Other Floor Coatings

When comparing epoxy with other floor coatings, urethane and polyaspartic options stand out. Urethane coatings, such as those offered by brands like TruAlloy and Rust Bullet, provide benefits like UV and abrasion resistance, ease of installation, and affordability compared to garage floor epoxy. However, they may not offer the same level of durability as epoxy.
Polyaspartic coatings are another alternative, but they can be challenging to work with due to their fast curing characteristics.
Epoxy coatings offer various types, including solid color, decorative flakes, and metallic options, each suited for specific applications. By understanding the pros and cons of each type, you can choose the best coating for your needs.
Let’s conclude with a summary of what we’ve covered.
Summary
In summary, applying an epoxy floor coating involves several crucial steps, from preparing the concrete floor and conducting moisture tests to choosing the right epoxy kit and applying the layers correctly. Each step plays a vital role in ensuring a durable and visually appealing floor. The benefits of epoxy coatings, including their durability, chemical resistance, and aesthetic options, make them a popular choice for various applications.
By following this comprehensive guide, you can achieve professional results and enjoy the transformative effects of epoxy flooring. Whether you’re looking to revamp your garage, basement, or industrial space, epoxy coatings provide a cost-effective and long-lasting solution. Ready to take the plunge? Your new floor awaits!
Frequently Asked Questions
How long does it take for an epoxy floor to fully cure?
Epoxy floors can be walked on within 12 to 18 hours, but they usually take about a week to fully cure. So, be patient for that perfect finish!
Can I apply epoxy on a wet concrete floor?
You shouldn't apply epoxy on a wet concrete floor, as moisture can hinder the application process. Make sure the concrete is completely dry and consider doing a moisture test beforehand.
What is the best way to mix epoxy resin and hardener?
To get the best results, measure the epoxy resin and hardener by weight. Mix them using a paddle mixer at low speed for 3-4 minutes, and then let it sit for 1-2 minutes to release any trapped air bubbles. This will give you a smooth, bubble-free mix!
How can I add a non-slip texture to my epoxy floor?
To create a non-slip texture on your epoxy floor, simply mix 1-2 ounces of a non-skid additive into each gallon of your Polyaspartic topcoat. This will help ensure a safer, textured surface you can count on!
What are the benefits of using epoxy coatings compared to other floor coatings?
Using epoxy coatings means you get unbeatable durability and chemical resistance, making them perfect for busy spaces. Plus, with their customizable aesthetic options, they can fit any industry’s style!
Reply