Top Tips for Using Table Top Epoxy Resin
Table top epoxy resin creates a clear, durable, and glossy finish ideal for surfaces that endure heavy use. This guide will explain its benefits, how to prepare your surface, mix and apply the resin, and complete the finishing touches for a professional look.
Key Takeaways
Proper surface preparation, including cleaning, leveling, and sealing, is crucial for a flawless epoxy resin application to avoid imperfections and ensure adhesion.
Achieving the correct mix ratio of resin and hardener is essential for optimal curing, while also minimizing air bubbles for a clear finish.
Applying multiple layers of epoxy with proper curing time, along with edging and polishing techniques, enhances the durability and professional appearance of the table top.
Understanding Table Top Epoxy Resin

Epoxy resin is a two-part epoxy system that includes a resin and a hardener. When these components are mixed together, they chemically react to form a rigid, high-strength polymer that is resistant to temperature, impact, and chemical damage. This makes epoxy resin an ideal choice for surfaces that endure heavy use, such as table tops and bar tops. One of the most appealing features of epoxy is its ability to create a clear, glossy finish that enhances the beauty of the underlying material, be it wood, concrete, or any other surface.
In addition to its aesthetic appeal, epoxy resin is also known for its practical benefits. It can withstand temperatures up to 65°C (149°F), making it suitable for kitchen tables and other hot environments. However, due to its rigidity, it’s essential to ensure that the underlying surface is stable and does not flex, as this can lead to cracking.
The chemical resistance of epoxy means it can handle spills without staining or deteriorating, adding to its longevity. These properties collectively make epoxy resin a top choice for those looking to create a durable and beautiful table top.
Preparing Your Surface for Epoxy Application
Thorough surface preparation is key to a flawless epoxy resin finish. This involves thorough cleaning, leveling the surface, sealing porous materials, and protecting areas that should not be covered with epoxy. Neglecting these steps can lead to imperfections, poor adhesion, and other issues that compromise the final result.
Before applying epoxy, ensure the surface is clean and level to prevent any imperfections in the finish. If the surface is porous, applying a seal coat can prevent air bubbles and ensure a smooth finish. Additionally, use painter’s tape to protect areas that you don’t want to be epoxied.
Each step will be discussed in detail below.
Cleaning and Leveling
Thorough cleaning and leveling are the first steps in preparing your table for epoxy resin. Begin by removing all dust, grease, and contaminants using a suitable cleaner and a lint-free cloth. A microfiber towel ensures the surface remains dust-free.
Once clean, check that the surface is level to avoid uneven self leveling epoxy application. An uneven surface can lead to missed spots and an uneven coating, so use a level to make adjustments as needed.
Sealing Porous Surfaces
If you’re working with a porous surface like wood, applying a seal coat is essential to prevent air bubbles from forming in the epoxy. This initial coat helps to seal gaps and pores, creating a smooth base for the main epoxy application.
Use a brush or roller to apply the seal coat evenly, and allow it to cure completely before proceeding with the main epoxy pour.
Protecting Areas Not to Be Epoxied
To avoid unwanted spills and drips, protect areas that will not be covered with epoxy. Use painter’s tape along the edges of these areas, ensuring a tight seal to prevent epoxy leakage.
Double-check for any gaps or weak spots in the tape to ensure thorough protection throughout the application process. This step is crucial to achieving a clean and professional finish.
Mixing and Coloring Epoxy Resin

Mixing and coloring epoxy resin correctly is vital for achieving the best results. Proper ventilation is also crucial to avoid the buildup of fumes from the chemical components. In this section, we’ll cover the importance of the correct mix ratio, how to add color additives, and techniques for preventing air bubbles during the mixing process.
Achieving the right mix ratio is paramount for optimal curing and performance of the epoxy. Color additives such as mica powders enhance the visual appeal, while minimizing air bubbles ensures a clear finish. Let’s dive into the specifics of each aspect.
Proper Mix Ratio
The correct mix ratio ensures proper curing of the epoxy resin. Typically, a 2:1 ratio of resin to hardener by volume is recommended for clear resin. Using incorrect proportions can lead to sticky or uneven cures, which can ruin the final result.
To avoid this, use a digital scale for precise measurements and ensure thorough mixing to achieve the best results.
Adding Color Additives
Color additives such as mica powders and paint can be mixed into the epoxy to achieve desired colors. These materials blend well with epoxy and can be used to create vibrant, customized finishes.
Ensure thorough mixing of the additives into the resin to avoid streaks and uneven color distribution.
Preventing Air Bubbles
Minimizing air bubbles is essential for a clear, professional finish. Slow stirring of the epoxy mixture helps to reduce the incorporation of air bubbles. Additionally, warming the resin before mixing can lower its viscosity, making it easier to mix and reducing the likelihood of trapping air.
Applying Epoxy Resin to Your Table Top

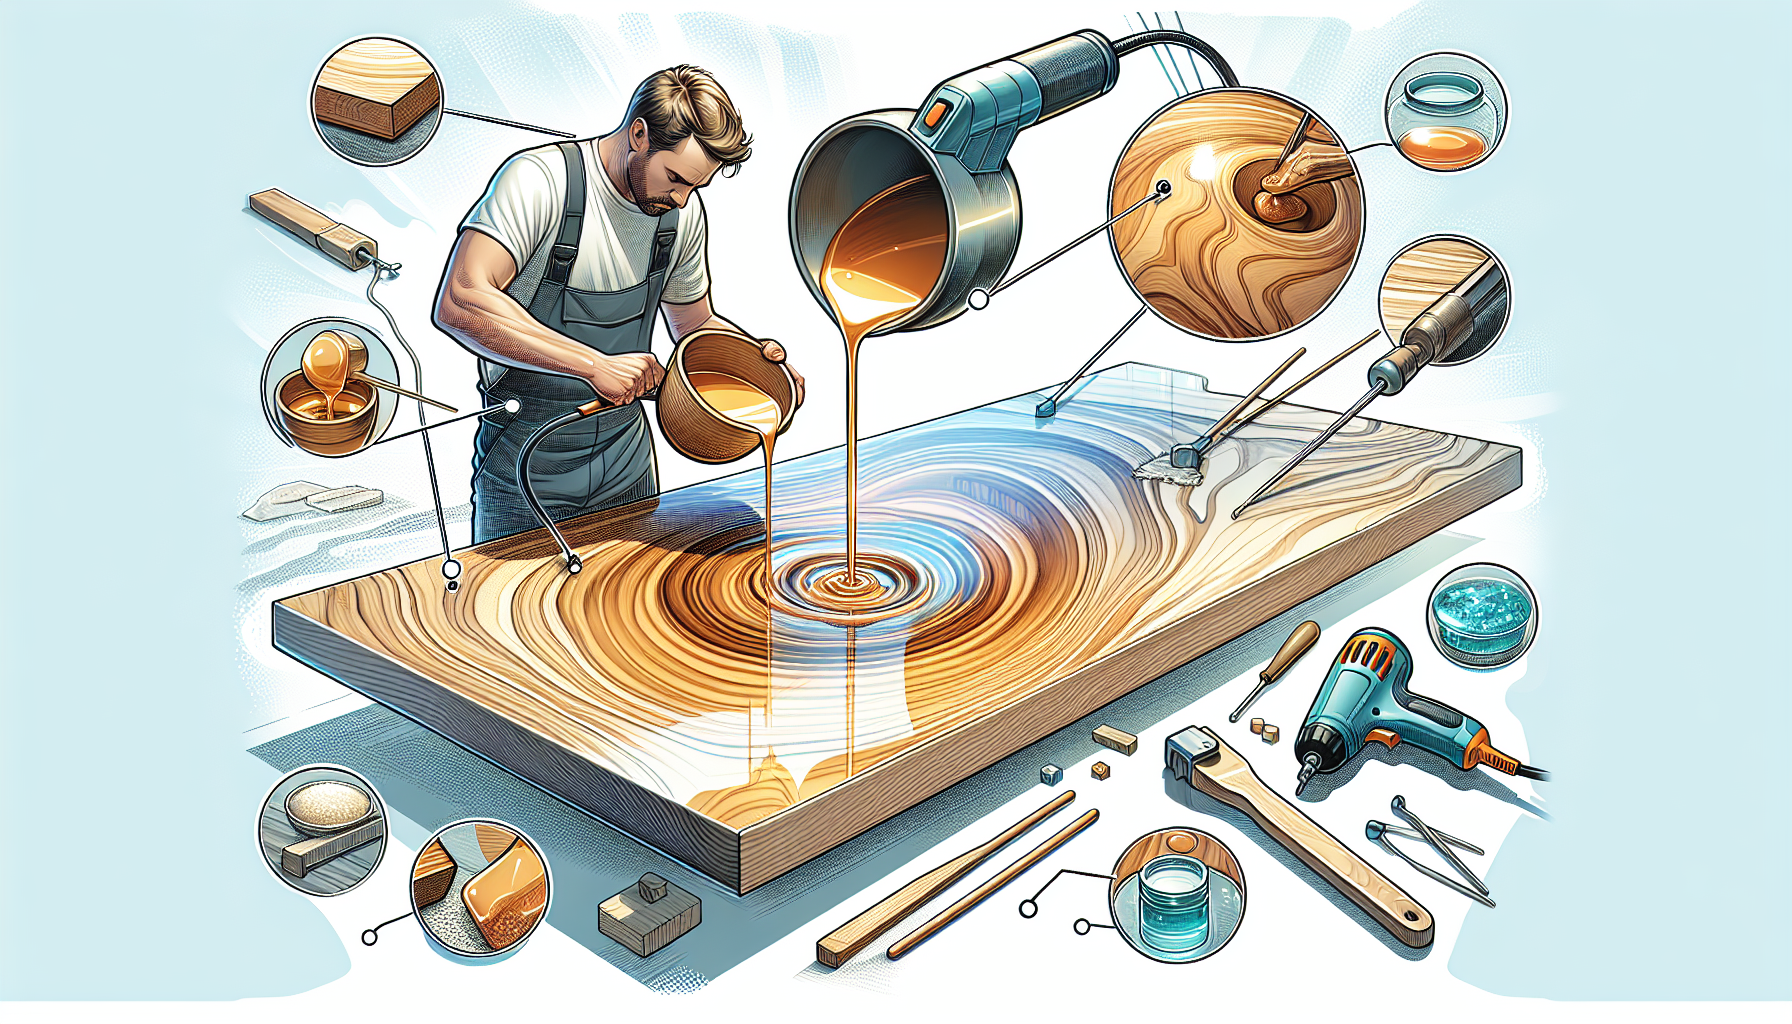
Applying epoxy resin involves several crucial steps to ensure a smooth, durable finish. From pouring techniques to using heat tools and layering the epoxy, each step requires careful attention to detail. Understanding the curing process is also vital to achieving a hard, resilient surface.
One of the first steps in the application process is pouring the tabletop epoxy. Heat guns and blowtorches are effective for eliminating air bubbles and ensuring a smooth surface. Layering and curing the epoxy properly ensures a deep, clear finish that enhances the beauty of your table top.
Let’s explore these techniques in detail.
Pouring Techniques
When pouring epoxy resin, it’s important to manage the volume and ensure even coverage. The ideal depth for a single pour is between 1/8 inch to 1/4 inch. Applying more than one flood coat can increase the thickness of the tabletop, but each coat must be cured properly before adding the next.
Managing drips effectively during the application process ensures clean edges and a professional finish.
Using Heat Tools
Heat tools like heat guns and blowtorches are essential for removing air bubbles from the epoxy. Keep the heat gun moving consistently to prevent scorching the surface, and maintain a safe distance to avoid damaging the resin.
Using these tools can also help control drips along the edges and ensure a smooth application.
Layering and Curing
Applying multiple layers of epoxy can enhance the depth and clarity of the finish. Each layer must cure fully before adding the next to avoid issues like cloudiness or uneven surfaces.
Temperature and humidity levels significantly affect the curing process, so maintaining optimal conditions is crucial.
Finishing Touches for a Professional Look

Several finishing techniques are crucial for a professional epoxy resin table top. Sanding between coats, applying edge treatments, and polishing all contribute to the project’s final appearance and durability. Investing time in these techniques not only enhances the visual appeal but also prolongs the lifespan of the table.
This section discusses the importance of sanding between coats, edge treatments, and polishing the final surface. These steps ensure a smooth, glossy finish that can withstand daily use and maintain its beauty over time.
Sanding Between Coats
Sanding between coats of epoxy is essential for proper adhesion and a smooth finish. Lightly sand each layer after it cures before applying the next coat. Wet sanding is often preferred as it minimizes dust and prevents clogging of the sandpaper.
This step ensures a strong bond between layers and a professional-looking surface.
Edge Treatments
Clean edges are crucial for a professional finish on your epoxy resin tabletop. Applying edge treatments can reduce the risk of resin drips and ensure a seamless border.
Use painter’s tape and other tools to manage drips and create clean, smooth edges.
Polishing the Final Surface
Polishing the final surface of your epoxy table top can significantly enhance its clarity and gloss. Use finer grit sandpaper up to 1200 grit for the best results, and consider using a variable-speed polisher with a foam pad.
Buffing with a soft pad after curing elevates the sheen and provides a glass-like finish.
Safety Considerations When Working with Epoxy

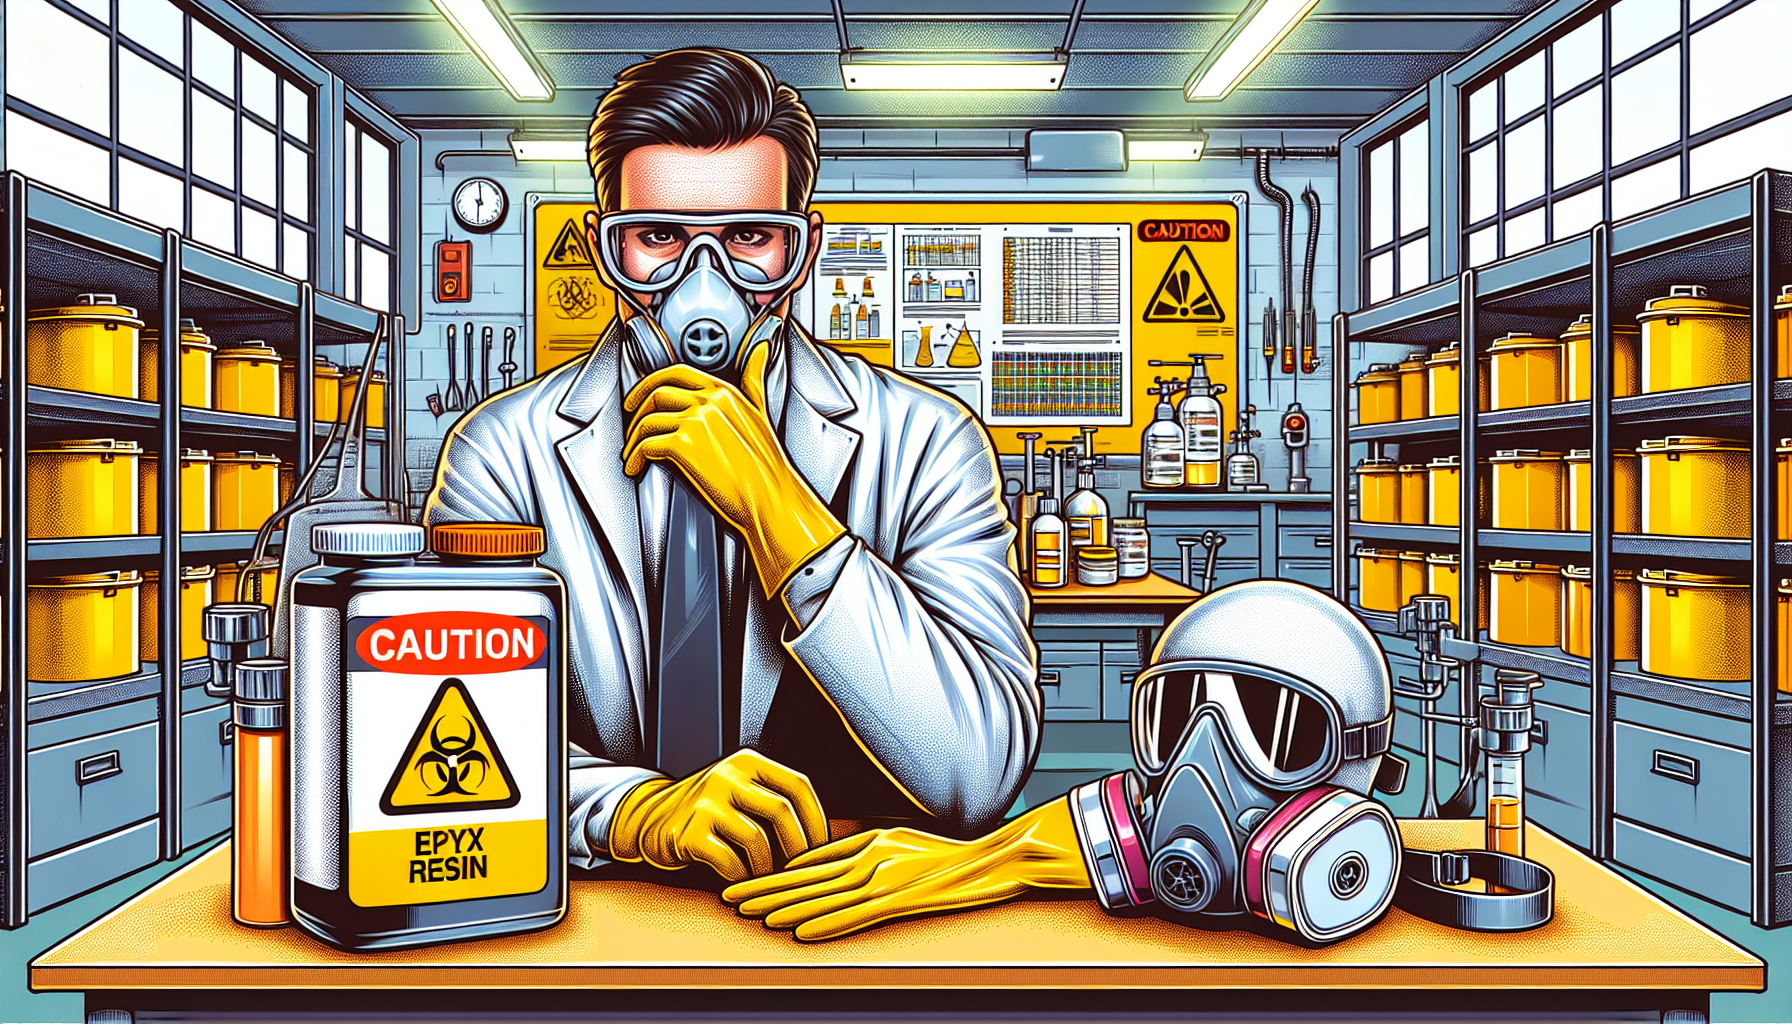
Safety is paramount when working with epoxy resin. Proper mixing techniques, environmental considerations, and the use of personal protective equipment are essential to avoid accidents and ensure a successful project. Educating oneself on these aspects can greatly reduce the risk of application errors.
In this section, we’ll discuss the importance of personal protective equipment, safe handling and storage of epoxy materials, and first aid measures in case of exposure. Following these guidelines ensures a safe and efficient epoxy application process.
Personal Protective Equipment
Personal protective equipment (PPE) such as gloves and safety glasses is necessary when working with epoxy resin. Gloves protect your skin from irritation, while safety glasses prevent eye irritation and protect against potential splashes.
Avoid dragging cords through working epoxy to prevent accidents and contamination.
Safe Handling and Storage
Store epoxy resin and hardeners in a cool, dry place away from direct sunlight to prevent degradation. Keep the containers tightly sealed to reduce the risk of spillage and contamination.
Always store epoxy materials upright in their original labeled containers to avoid leaks.
First Aid Measures
In case of skin contact with epoxy resin, wash immediately with soap and water to prevent irritation. If you experience respiratory irritation from epoxy vapors, move to fresh air immediately, and seek medical attention if symptoms persist.
It’s crucial to understand and follow these first aid measures to handle any accidental exposure safely.
Common Mistakes and How to Avoid Them
Epoxy resin application can be tricky, and common mistakes can compromise the final result. Proper surface preparation and correct mixing ratios are critical to avoid issues like air bubbles, uneven curing, or poor adhesion. Understanding and avoiding these pitfalls will help you achieve a flawless finish.
In this section, we’ll explore the most common mistakes, such as incorrect mixing ratios, inadequate surface preparation, and ignoring temperature and humidity. Following these pro tips ensures a smooth and professional epoxy resin application.
Incorrect Mixing Ratios
Using incorrect proportions of resin and hardener can lead to improper curing and unsatisfactory results. Different epoxy brands have unique mixing instructions, and following them precisely is crucial. Failing to mix resin thoroughly can result in uneven curing and air bubbles in the finished surface.
Using a digital scale and preheating the resin can help achieve a proper mix and prevent mistakes.
Inadequate Surface Preparation
Poor surface preparation can result in epoxy not adhering evenly, particularly on rounded parts of the surface. Thoroughly clean and level the substrate to avoid puddles of resin and messy results.
This attention to detail in preparation is essential for a successful epoxy application.
Ignoring Temperature and Humidity
Ambient conditions like temperature and humidity significantly impact the curing process of epoxy resin. Resin cures better in warmer, less humid conditions, ideally around 70°F. Ensure each layer has a partial cure time of at least 4 hours before adding another to avoid issues with the final properties.
Summary
In summary, using table top epoxy resin can transform any surface into a stunning, durable masterpiece. Understanding the properties of epoxy, preparing the surface correctly, mixing and applying the resin properly, and taking safety precautions are all critical steps. By following these guidelines, you can achieve a professional finish that enhances both the beauty and functionality of your table top. Now, armed with these insights and pro tips, it’s time to embark on your epoxy resin project and create something truly remarkable!
Frequently Asked Questions
What is the ideal mix ratio for table top epoxy resin?
The ideal mix ratio for table top epoxy resin is 2 parts resin to 1 part hardener by volume. Adhering to this ratio ensures optimal curing and performance.
How can I prevent air bubbles in my epoxy resin?
To prevent air bubbles in your epoxy resin, stir slowly and warm the resin before mixing. This approach effectively minimizes the introduction of air.
What should I do if epoxy resin comes into contact with my skin?
If epoxy resin contacts your skin, wash the affected area immediately with soap and water to prevent irritation. Prompt action is essential for your safety.
How long should I wait between epoxy layers?
You should wait at least 4 hours between epoxy layers to ensure proper adhesion and curing. This allows each layer to achieve a partial cure before applying the next one.
What are some common mistakes to avoid when using epoxy resin?
Avoid mistakes like incorrect mixing ratios, insufficient surface preparation, and neglecting temperature and humidity conditions to ensure a successful epoxy resin project. Paying attention to these details is crucial for achieving optimal results.